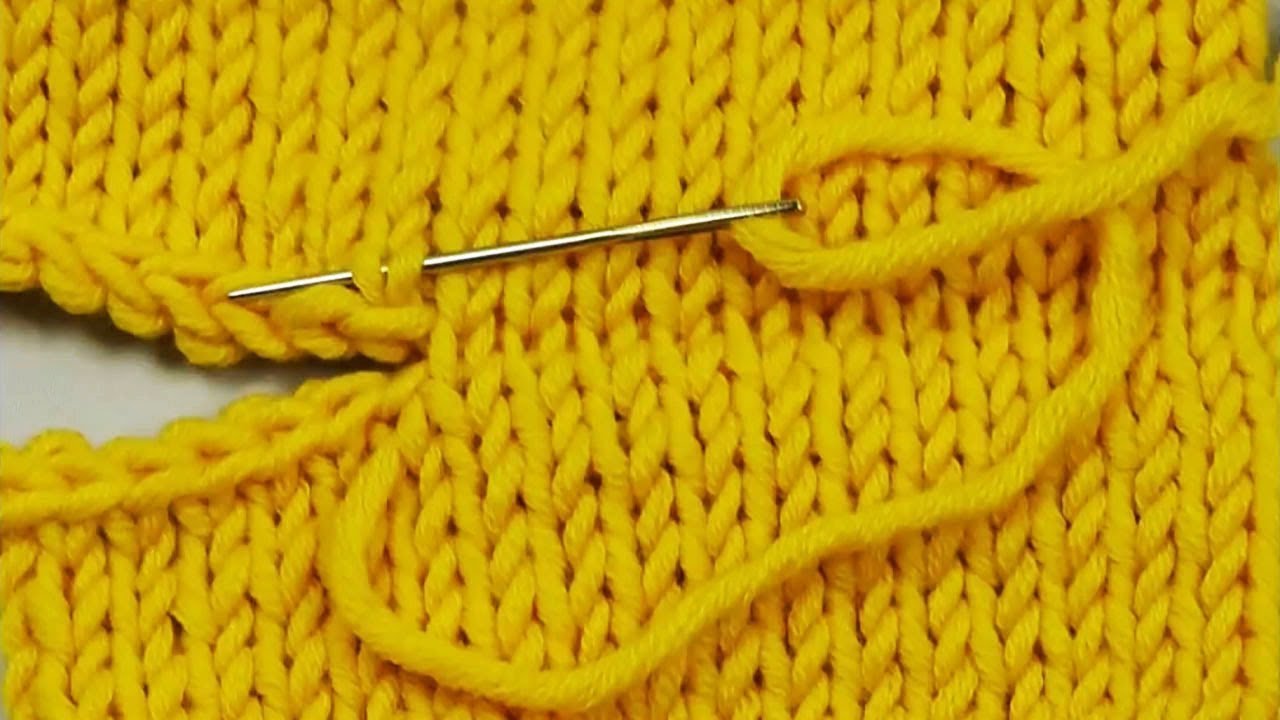
How To Knit Two Ends Together - Knit 2 stitches (one from a back piece and one from the front piece) together. The simplest method of decreasing is to simply knit or purl two stitches together as one. The simplest method of decreasing is to simply knit or purl two stitches together as one. Once you have your knit pieces finished, assemble them by sewing them together. 3 master the whip stitch. Now, insert your right needle into the first two stitches on the left needle at the same time from left to right. For example, folding a hat brim in half and sew it in. Follow the red yarn to trace a single row (“course”) of knit stitches. This demo joins the cast on and. This is known as a knit two together (k2tog) or purl two together (p2tog).

Finishing off your knitting project how to join two edges and how to
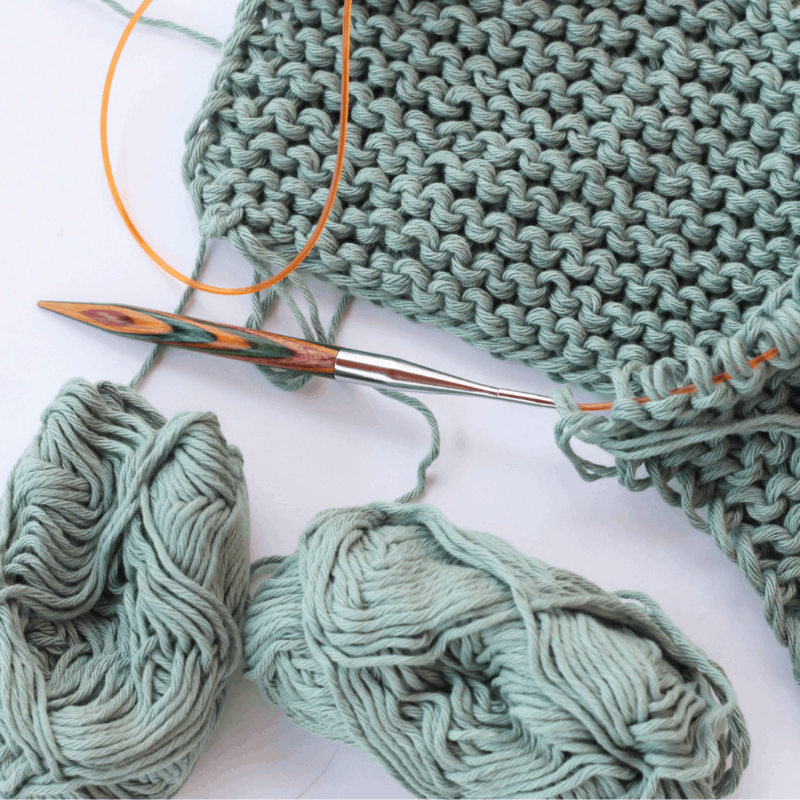
Joining garter stitch to join two pieces together, thread a darning needle with the same yarn used to ma. Now, pass the yarn tail from.
![How to Knit Two Together (K2tog) for beginners Easy tutorial [+video]](https://nimble-needles.com/wp-content/uploads/2020/03/how-to-knit-2-together.jpg)
How to Knit Two Together (K2tog) for beginners Easy tutorial [+video]
For larger items, consider using blocking to even out any discrepancies for a smoother join. Web 1 gather the supplies you need. Pull strongly from.
Knitting Connecting Two Pieces Ending With Knit Stitch Knitting
359k views 11 years ago knitting. The simplest method of decreasing is to simply knit or purl two stitches together as one. Web this video.
![How to knit two together through the backloop (K2tog tbl) [+Video]](https://nimble-needles.com/wp-content/uploads/2020/08/k2tog-tbl-knitting2.jpg)
How to knit two together through the backloop (K2tog tbl) [+Video]
Web 8.3k views 5 years ago knitting 101. A basic stitch in knitting, k2tog (or knit two together) means exactly what it sounds like: This.
How To Knit With Two Strands Of Yarn Together Handy Little Me
3 master the whip stitch. 359k views 11 years ago knitting. Fold or put two pieces of knits in line with each other. Web 8.3k.
![How to Knit Two Together (K2Tog) for beginners Easy tutorial [+video]](https://nimble-needles.com/wp-content/uploads/2020/03/slip-both-loops-and-you-got-k2tog-1024x684.jpg)
How to Knit Two Together (K2Tog) for beginners Easy tutorial [+video]
We’re showing you with two different coloured yarns, but you can use the. For written instructions and photos please visit:. Now do the same with.

Joining two yarns the easy method knotions
The swatch is for my frost heaves cowl pattern, but the same technique could be used for other projects, including c. Web how to seam.

How To Knit With Two Strands Of Yarn Together Knitting basics
Preparations for the kitchener stitch. Start by bringing the working yarn to the back just the way you would typically for a knit stitch. Web.

How To Knit Knit Two Together YouTube
3 master the whip stitch. 2 understand the mattress stitch. 521 views 1 year ago how to: Have you ever tried to graft your knitting?.

Joining Knitted Pieces 2 WAYS YouTube
Fold or put two pieces of knits in line with each other. Seaming two bound off edges together. Pull strongly from both yarn tails to.
Web 1 Gather The Supplies You Need.
Fold or put two pieces of knits in line with each other. The swatch is for my frost heaves cowl pattern, but the same technique could be used for other projects, including c. Now do the same with your other stitches. The seaming technique used depends on the type of stitch used in the piece and whether you are making a vertical or a horizontal seam.
This Easy, Beginner Knitting Tutorial Shows You How To Seam Or Sew The Ends Or Edges Of A Knitted Project Together.
Sometimes you need to sew two knitted pieces together. You use two strands of yarn (even when knitting in solid color). Knit 2 stitches (one from a back piece and one from the front piece) together. For example, folding a hat brim in half and sew it in.
Web Use This Simple Technique For A Seamless Join, Without The Hassle Of Kitchener Stitch.
Make a loop with the yarn tail to your left, making the strand go under itself. This is known as a knit two together (k2tog) or purl two together (p2tog). For written instructions and photos please visit:. A basic stitch in knitting, k2tog (or knit two together) means exactly what it sounds like:
A K2Tog Will Lean To The Right, While The Slip, Slip, Knit (Ssk), A.
Choose a suitable needle—commonly a tapestry needle , yarn needle, or darning needle. Pull strongly from both yarn tails to close and secure the knot. Grafting is a great way to seamlessly join two sets of live stitches together, like at the toe of a sock, or to connect the ends of an infinity scarf. Now, pass the yarn tail from the left under the yarn tail from the right, and then through the loop of step 1.